Disclaimer: This article has no audio related content. We hope the following manufacturing information will be useful to others.
A couple years ago, we naively expected that aluminum manufactures would perfectly interpret our engineering drawings and produce beautiful, black parts. After rejecting 4500+ aluminum cases in these past two years, I can tell you with certainty that this guy gives a false impression. There’s much more to fabricating a nice aluminum product than simple anodizing. Photos below are a chronicle of our progress.
Raw Aluminum
Our raw cases arrive from the aluminum manufacturer looking something like this:

Rough, huh? Sometimes we see deeper scratches and dents, and parts can even arrive covered in grease and oil.
Anodizing fixes none of this! Any scratches or defects visible before anodizing will remain visible after anodizing.
Brushed + Anodized Aluminum
We added brushed finishing to c421 after realizing that we couldn’t expect aluminum manufacturers to deliver parts in perfect condition:
Brushing solved the immediately visible problem in our first manufacturing attempts, but created new issues. The texture of production parts was rougher than samples. And here’s what happens with a heavy brush intensity:
Pros:
- Relatively fast to perform
- Generally low cost
- Brushed appearance is popular
Cons:
- Since brushing a part is essentially like rubbing sandpaper against its surface, brushing can alter part tolerances (see above image).
- An aggressive brushed finish can create a rough, undesirable texture.
Bead Blasting
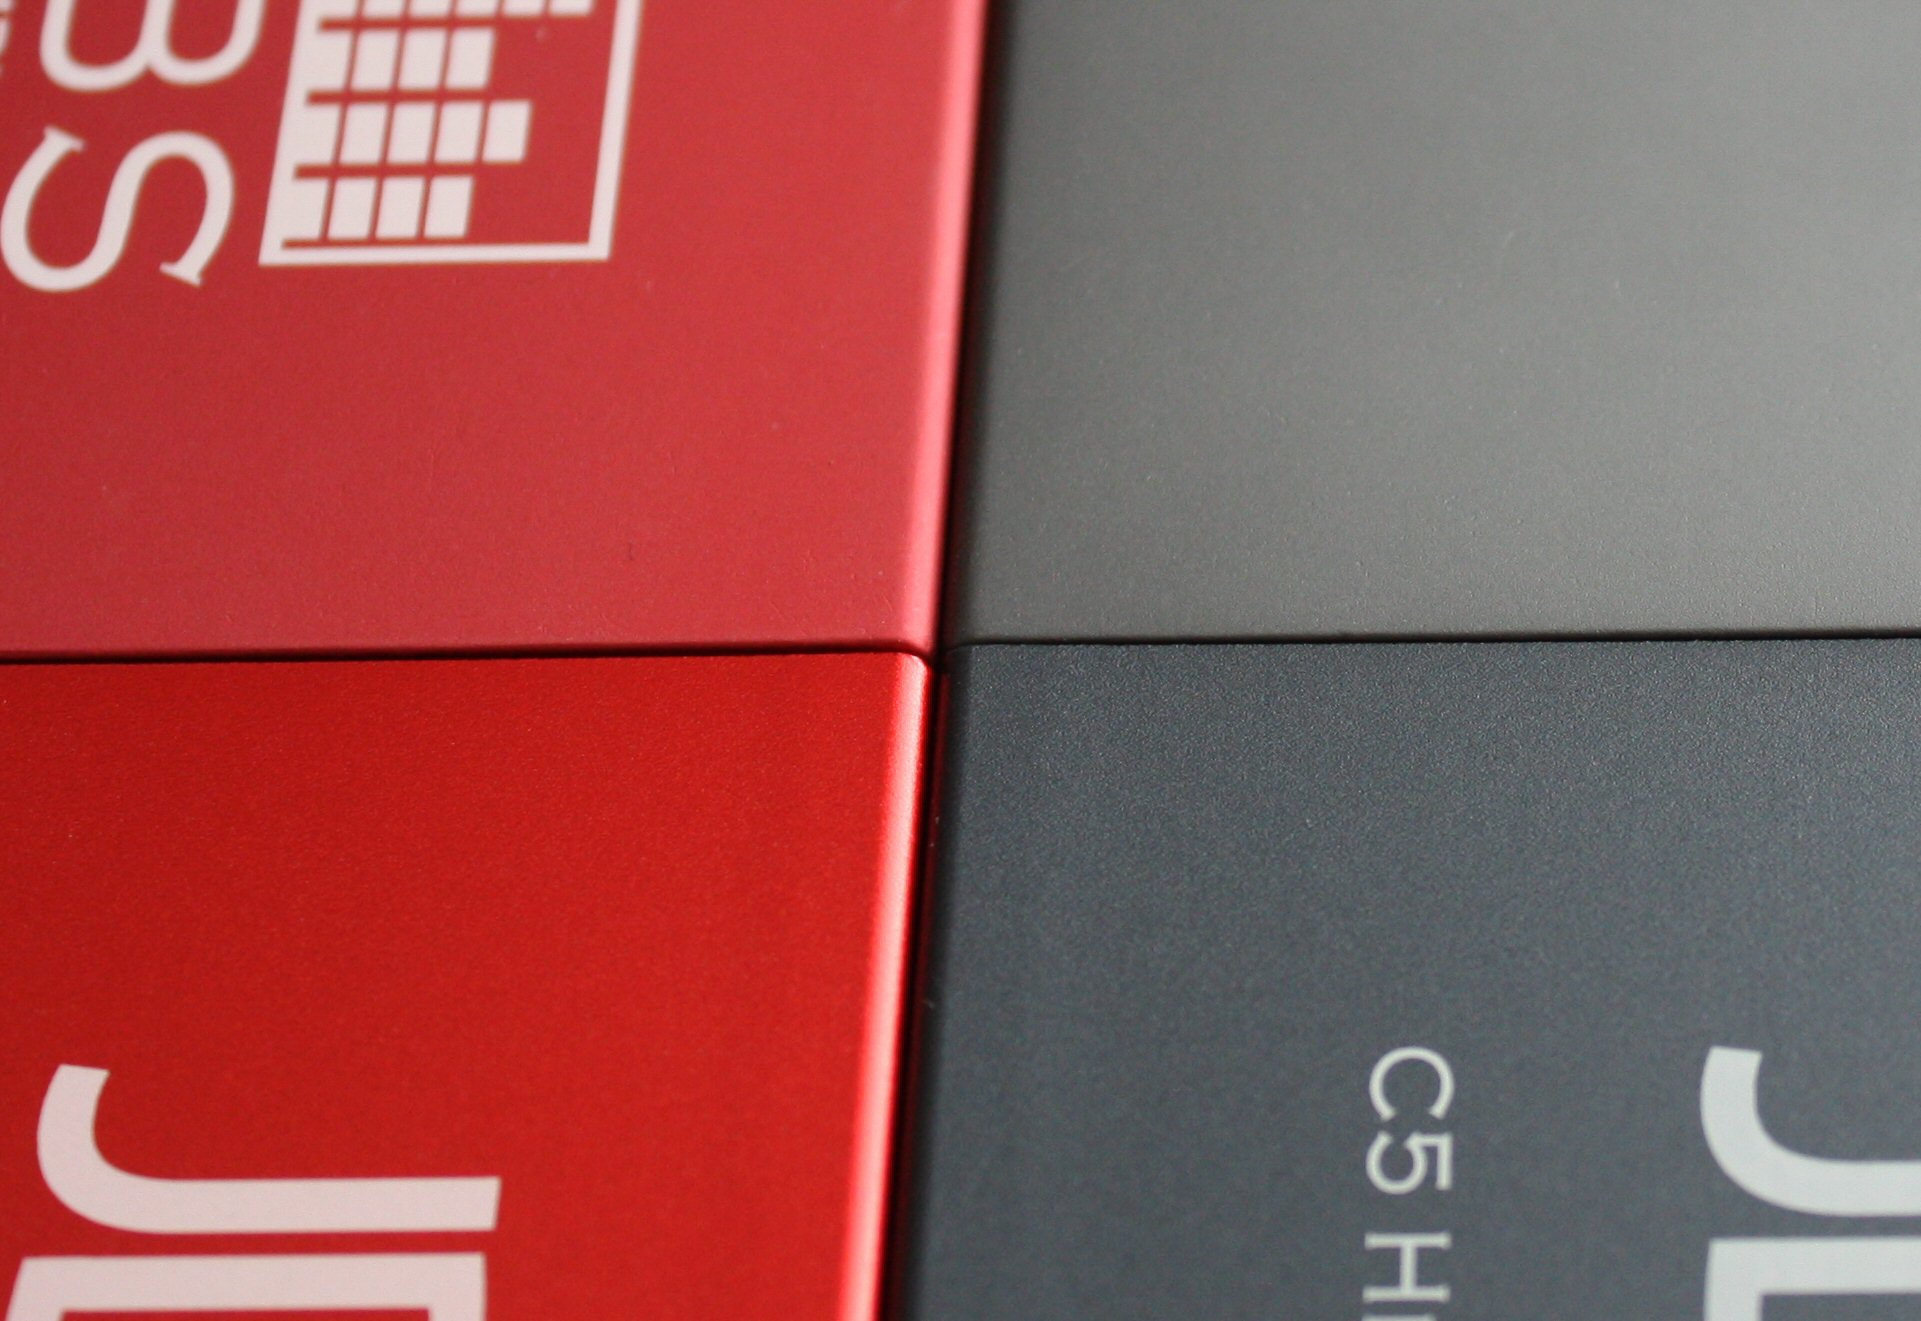
When we began designing C5, we knew that enclosure quality needed to match the awesome new circuit board. Brushed cases had to go. Our local anodizer suggested a very fine bead blast (aka, “peening”).
Bead blasting is essentially like a pressure washer that uses “abrasive media” instead of water. Any media can be used: walnut shells, sand, and glass beads are common. Pick a media, a pressure, a distance from the part, and then blast the surface. Most shops say it’s an art.
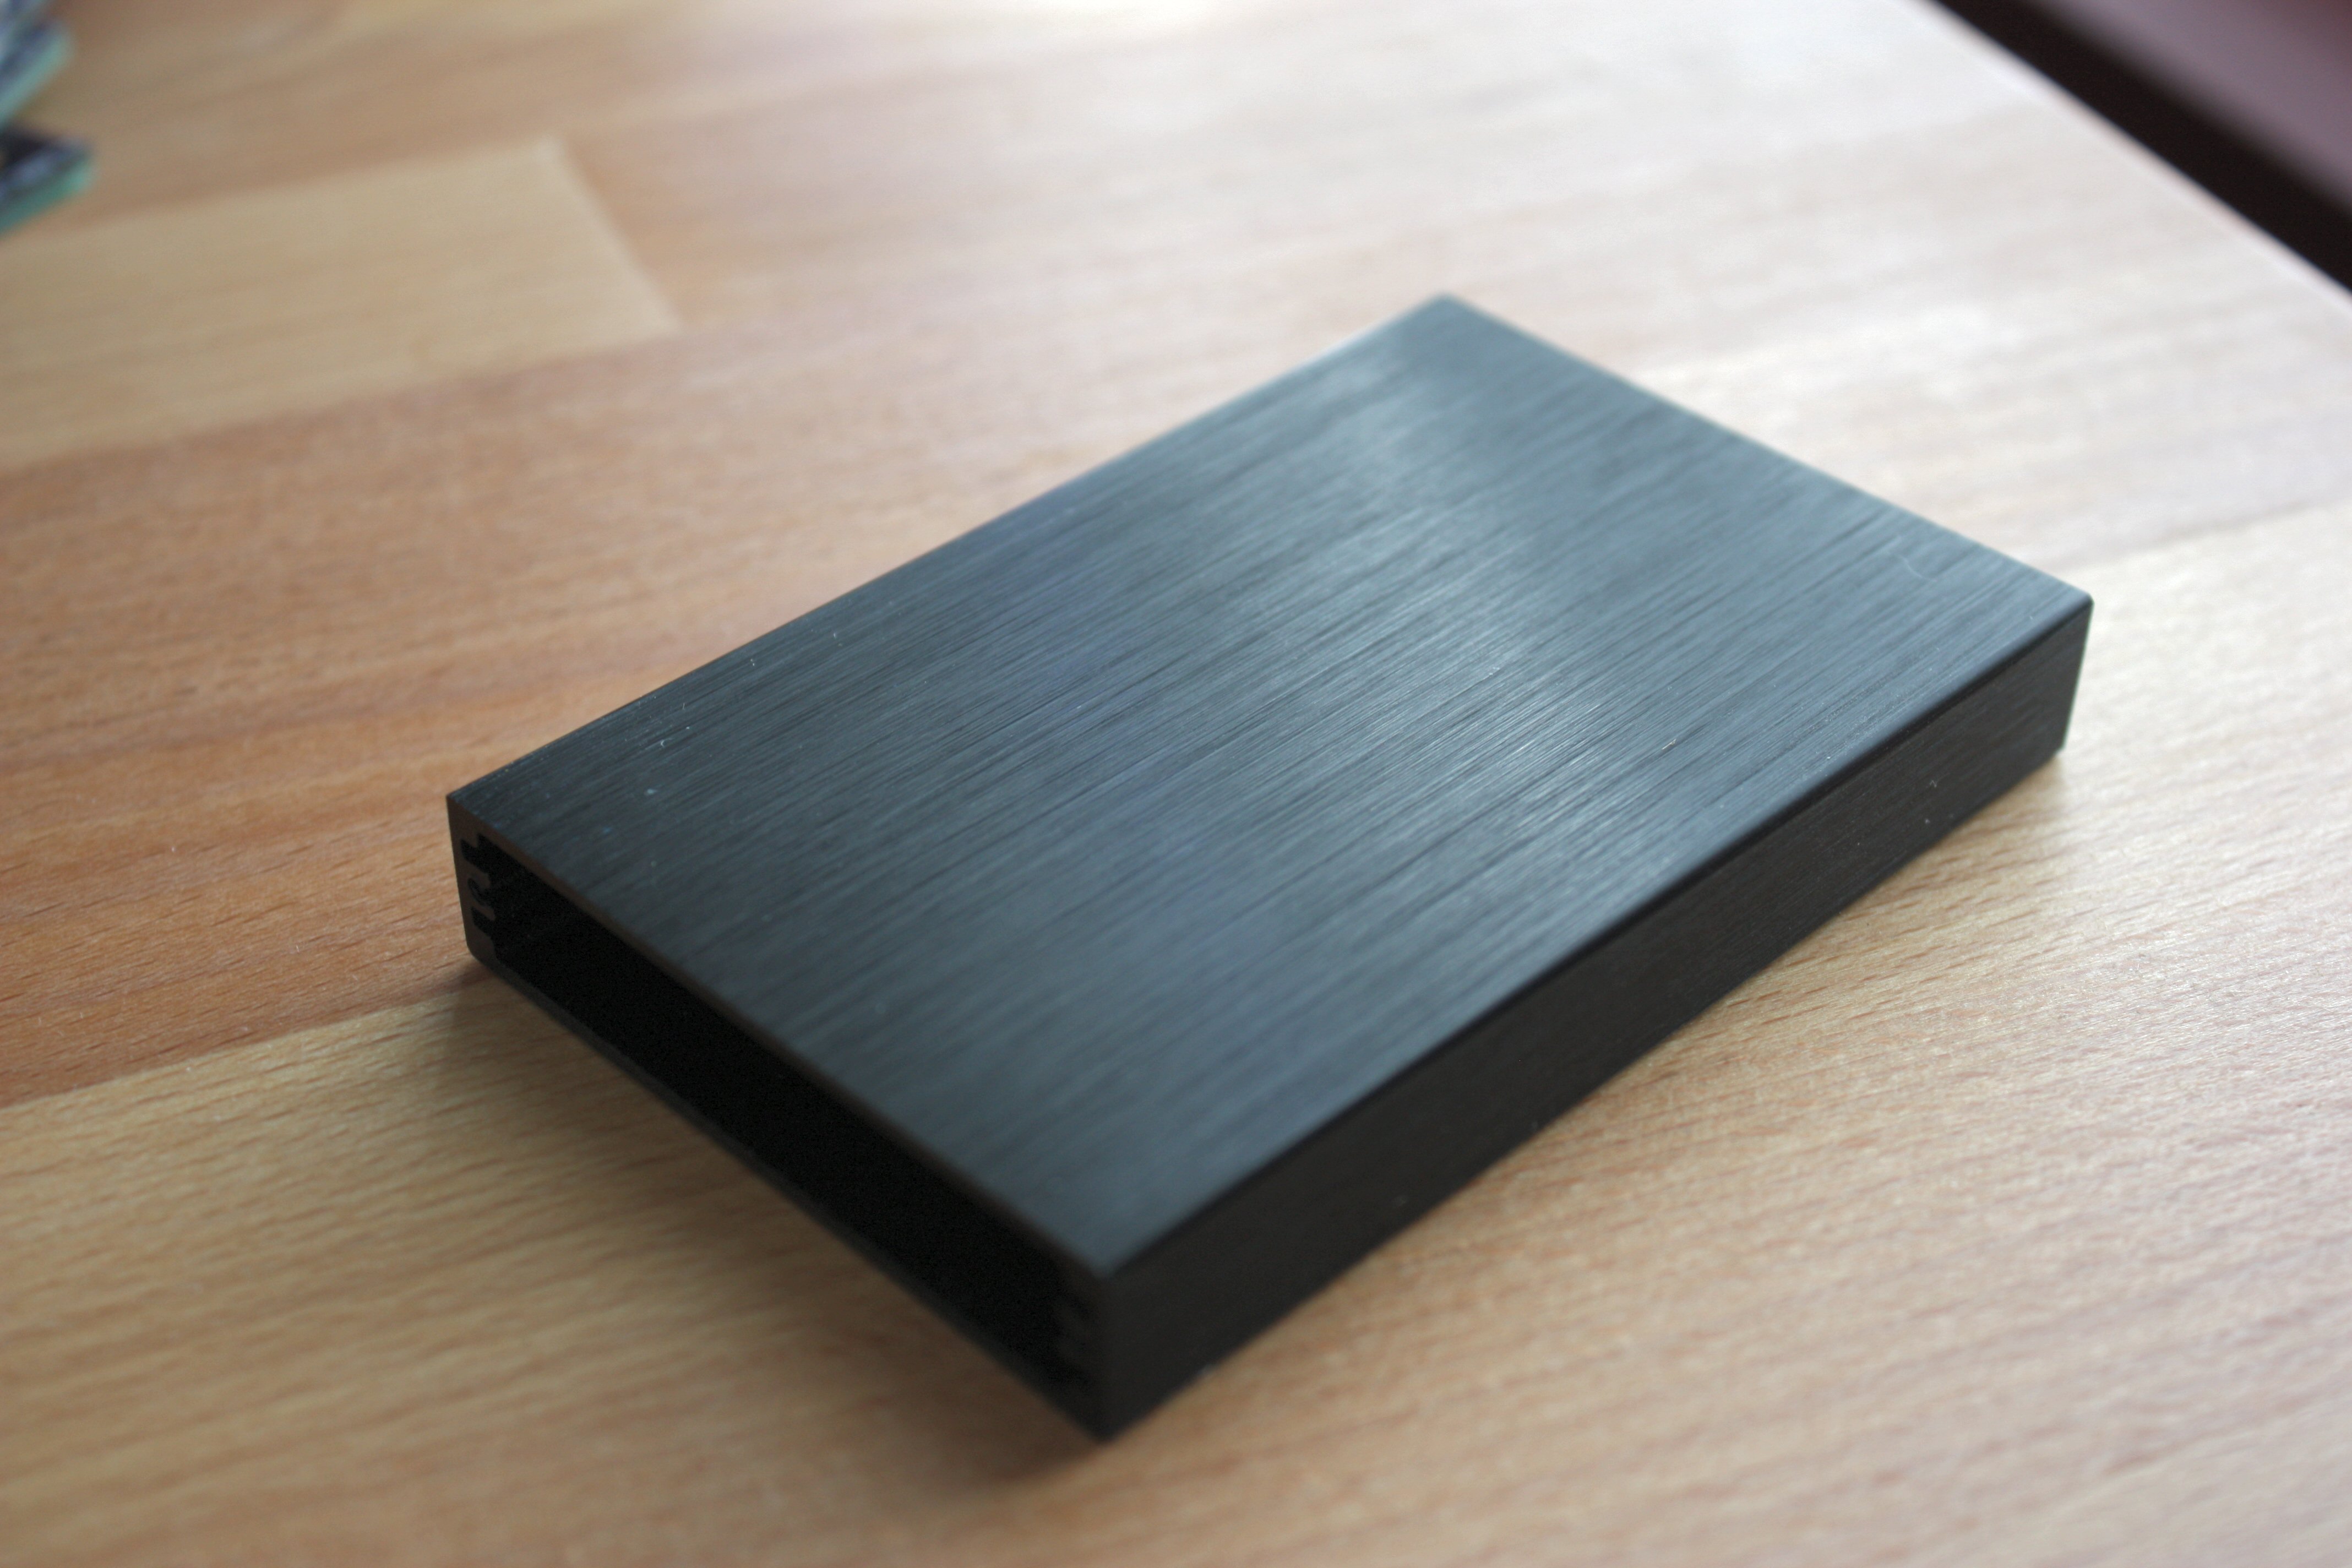
Ultra fine glass beads produce a soft appearance similar to Apple’s Macbook:
Bead blasting dulls the part finish. While appearance is excellent before and after anodizing, surface texture oddly changes after anodizing, we used a stud welding equipment, Stud welding can be used within a number of industries, including companies working with electrical goods and electronics, machinery and machine parts, heating and ventilation equipment, and also decorative and consumer items, we highly recommend to use it.
We also noticed that black parts turned out especially dull, unlike other colors.

Pros:
- With the right bead blasting media and pressure, a bead blasted part looks excellent
- Part tolerances are not altered
Cons:
- Requires significant sampling/experimentation from your metal finishing shop
- Cost is 50-100% higher than brushing
- Most shops manually blast parts, which can lead to surface inconsistencies
- Especially rough parts must be tumbled prior to blasting (even higher cost)
- Anodizing yields a matte appearance, especially unsuitable for black
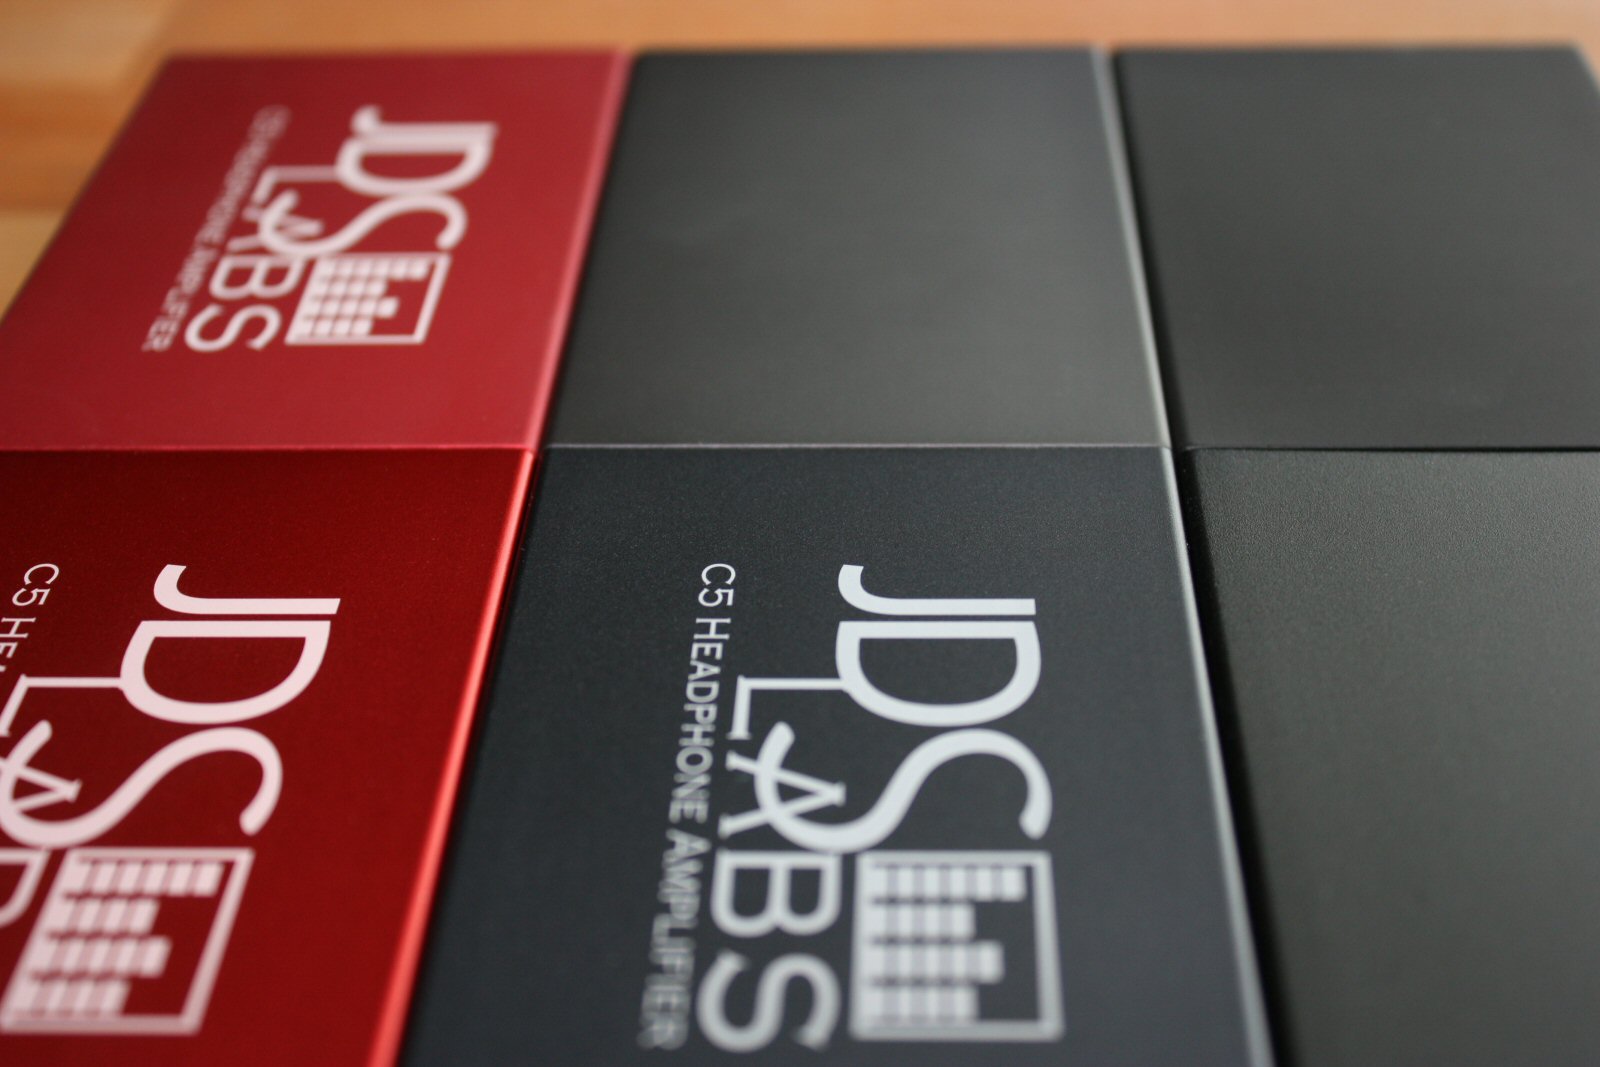
Bead Blasting + Bright Dipping + Anodizing
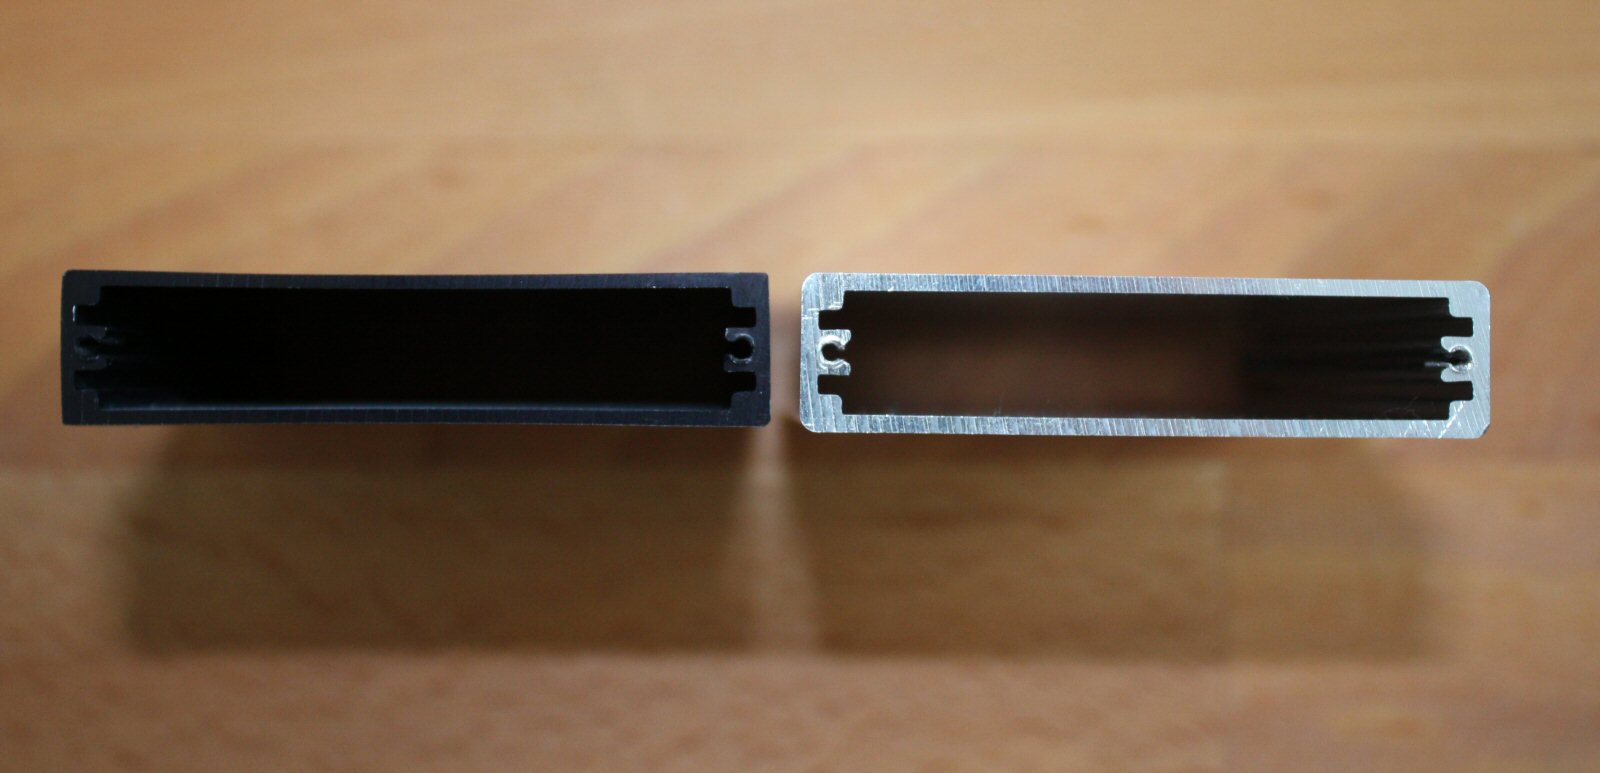
Aluminum parts are normally caustic etched immediately prior to anodizing. If you substitute etching for a process called Bright Dipping, dullness is magically replaced by a brilliant appearance and pleasant texture.
The bright dipped parts shown above are not actually brighter. At another angle, you can see instead that light reflects more brilliantly at all angles. Notice the bright dipped pieces appear darker in this photo:
Pros:
- Excellent surface appearance
- Excellent surface texture
- Cost is comparable to standard anodizing
Cons:
- Bright dipping is extremely corrosive, so it’s rarely offered in the United States
- Carries all other downsides of regular bead blasting (see above)
Hopefully this helps someone in their manufacturing adventures. Special thanks to Tom at Archway Anodize for making our experiments possible!